
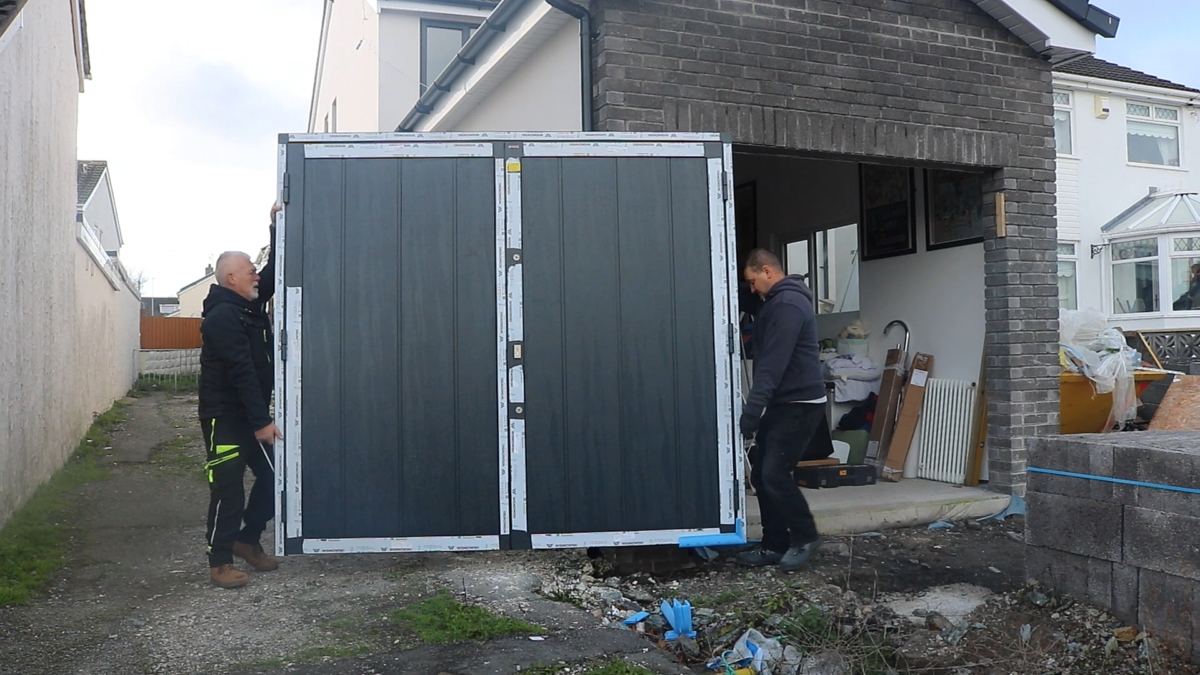
Installers and homeowners were quick to appreciate the features of DoorPro, such as its three-point locking, anti-burglary bolting and a stainless-steel handle as standard, with the option of a SKG2 security cylinder lock. And now, due to popular demand, the DoorPro is now available in Irish Oak, which is something unique to the UK market for side-hinged and sectional garage doors. Additionally, door frames and chassis are available in the same lamination as the door leaf, something relatively unique to the UK market.

All side hinged doors are produced with the UniPro (sectional) door panel, offering perfect synergy across both product ranges so that they can be ordered to match flawlessly. DoorPro side-hinged garage doors come with rebated seals along the entire perimeter of the door leaf and frame for optimum weather tightness. Both the frame of the door leaf and the frame itself can be powder coated in any RAL colour the homeowner desires.
Here at JDUK Door Systems, we offer one of the largest range of standard RAL colours available in the UK market of 34 colours. DoorPro comes in a choice of four attractive textures including Woodgrain, Smooth, Sandgrain and Smoothgrain. Moreover, Smoothgrain offers the largest range of laminated/foiled finishes available, with over 40 finishes including 25 wood effects and 17 coloured, which now also includes Irish Oak. And with the Home Inclusive 2.0 range, we can guarantee an exact colour match across our range of door systems which also includes aluminium and steel entrance doors.
The DoorPro series of insulated side hinged garage doors are available as single or double leaf in the popular option of non-thermally broken, with the option of an upgrade of a thermal break. Choose from five panel designs, L Ribbed, M Ribbed, S Ribbed, Georgian and Microwave. Both horizontal and vertical ribbed designs are also available.
Continue reading for a step-by-step guide on side hinged garage door installation.
Step-by-Step Side Hinged Garage Door Installation
We would always recommend that installation be carried out by an experienced installer. To find out why, you can read more here.
Once you have found an installer you’re happy with, the step-by-step guide below and installation video at will tell them everything they need to know…
Step 1 – Prepare the opening
Always start by preparing the opening.
Remove any old garage doors, as well as any fixings and debris, leaving a clean opening and workspace ready for the installation.
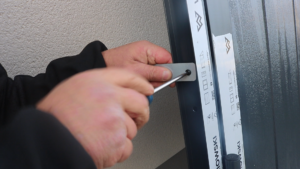
Step 2 – Prepare the Brackets
To prepare the brackets around the edges of the door frame, start by loosening the screws holding the brackets to the frame.
Position each bracket to face the interior side of the door and fix the screws securely back into place.
Repeat this for every bracket on both sides and along the top of the door frame.
Step 3 – Position the door
Position the side-hinged door within the opening, using markers if necessary to ensure the ideal fit.
Once the door is in place, you can remove the carry straps on each side of the door using a screwdriver.
With the door in position, check levels to ensure it is level and plumb, using packers to adjust if necessary.
Step 4 – Fix the brackets
Drill pilot holes through each of the brackets, making sure to drill through bricks and not mortar.
Using the appropriate fixings, fix each of the brackets into position within the opening, checking levels as you go and using packers where necessary.
If you don’t want the brackets to be showing, you can also fix the door frame to the side walls and the lintel by drilling into the brickwork through the pre-drilled holes within the door frame.
For this method, grommets are supplied to fill the holes once the frame is fixed.
With each side fixed into position, you can fix the brackets along the top of the door frame, again, checking levels as you go.
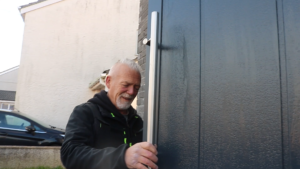
Step 5 – Attach the handles
Take the internal handle from your Wisniowski fixing kit and trim the spindle to size if necessary, using your door as guidance.
With the spindle cut to size, remove the fixing screws from the door, place the handle into position and replace the screws using a screwdriver.
Test the handle, before moving on to the external side of the door.
For this installation, a non-standard external handle has been selected. In most cases, the external handle installation will be similar to that of the internal handle.
Step 6 – Fix the threshold
Check the level of the threshold and use packers, if necessary, to ensure that it is level before fitting.
Drill a pilot hole through the middle of the threshold, before screwing into position on the garage floor.
Check again that the threshold is level and ensure that the screw is flush within the threshold. Then run a few tests to ensure the door opens and shuts smoothly along the threshold.
Step 7 – Finishing Touches
Locate the plugs from your Wisniowski fixing kit and fix into position along the bottom edge on the external side of your door.
You can then remove any tape from both sides of the door, as well as any temporary fixings from around the door frame.
Seal around the edges of the door frame as necessary, using the appropriate sealants depending on the aperture, using silicone sealant and possibly PVC.
Fine adjustments can be made to the door leaves by adjusting the Allen screws on the outside of the door hinges.
Your Wisniowski side hinged door is now fully installed and ready for use!
Don’t forget to check out the other videos on our YouTube channel for more useful tips and tools to installing our products.
For more information on side hinged garage door installation, please email sales@jdukltd.co.uk or call 01924 472 924.