
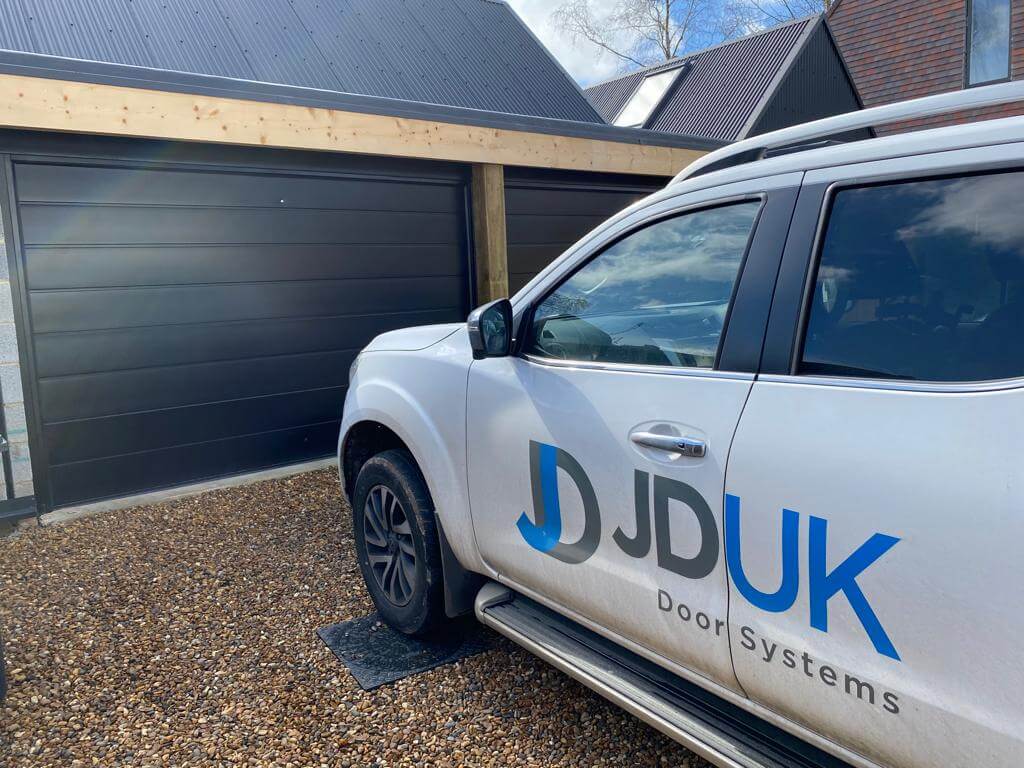
Garage doors are an essential part of any home, providing security for your vehicles and belongings while also adding to the overall aesthetics and value of your property. With a wide range of options available, finding the perfect garage door can seem like a daunting task. In this comprehensive guide, we will explore the different types of Wisniowski garage doors and the step-by-step process of how to fit a garage door.
Sectional Garage Doors
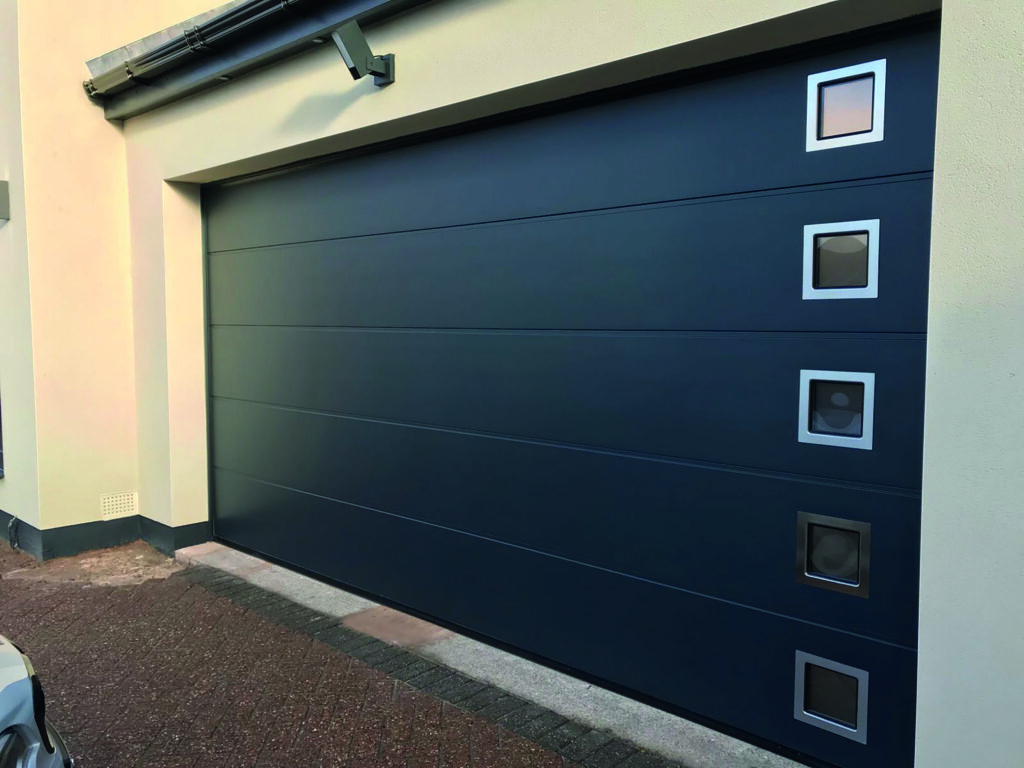
Sectional garage doors are a popular choice. These doors consist of several horizontal panels that are hinged together, allowing them to slide upward and parallel to the ceiling. Here are some key benefits of sectional garage doors:
· Excellent insulation properties: Sectional garage doors provide insulation that helps maintain temperature and reduce energy costs.
· Enhanced security features: These doors come with robust locking systems and sturdy construction, ensuring the safety of your belongings.
· Customisable designs: With JDUK, you can choose from a variety of designs and finishes to match your home’s exterior.
· Smooth operation and minimal maintenance: Sectional garage doors operate smoothly and require minimal maintenance.
Our Wisnioswki UniPro sectional door offers a perfect blend of precision manufacturing and diverse design options, allowing seamless coordination with both modern and traditional structures. Ideal for spaces with limited lintel height and minimal room for torsion springs, it’s a practical solution for various properties.
Side Hinged Garage Doors
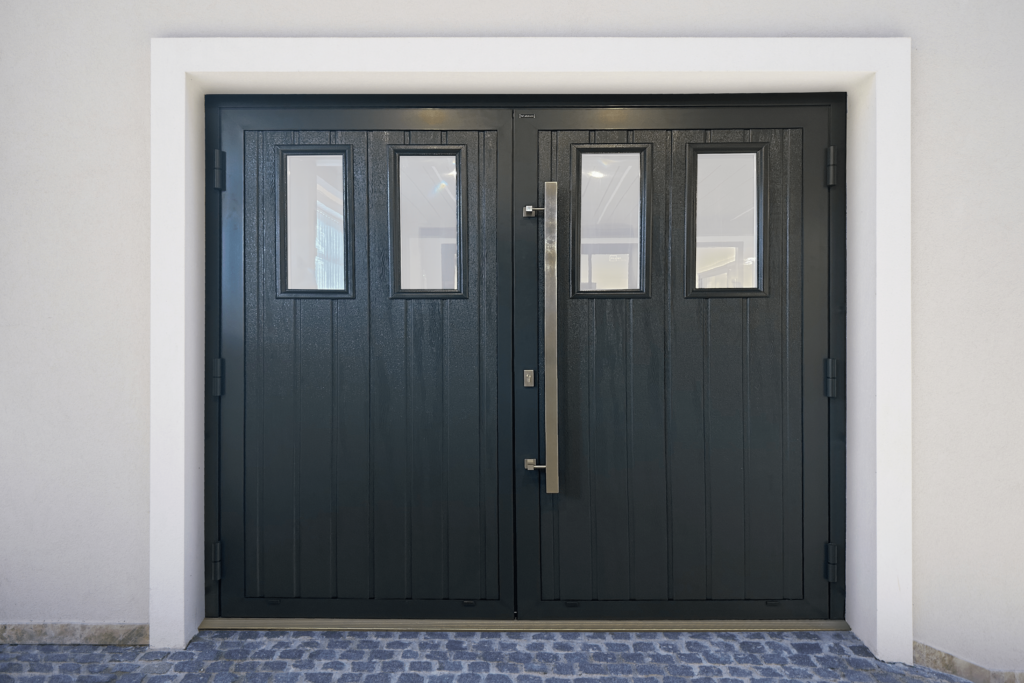
If you prefer pedestrian access, side hinged garage doors are an excellent choice. These doors swing open like traditional entrance doors, providing easy access and vehicle access when both doors are opened up. Here are the benefits of side hinged garage doors:
· Traditional appearance: Side hinged doors offer a classic charm that complements various architectural styles.
· Wide opening and easy access: These doors provide a wide opening, allowing for easy access to the entire garage space. They are perfect for those who use their garage as a workshop.
· Customisation options: Side hinged doors can be customised with different colours, hardware and window inserts to match your home’s style.
· Exceptional durability and weather resistance: These doors are built to last and offer excellent weather resistance.
At JDUK, we stock the WIŚNIOWSKI side hinged DoorPro range, a practical choice which offers a wide range of RAL colours to choose from.
How to Install a Sectional Garage Door
Now that we have explored the different types of Wisniowski garage doors and their benefits, let’s start by diving into the step-by-step process of installing a Wisniowski sectional garage door.
Step 1: Fix the Frame Leg Seals
· Lay out the frame legs flat on a set of trestles.
· Align the channel on the side seal with the edge of the frame leg.
· Apply pressure on the side seal, starting from the bottom, until it fits completely over the frame leg.
· Grip and fold the side seal towards the side of the frame leg until you hear a click.
· Repeat the process on the opposite frame leg.
Step 2: Fix the Frame Leg Cover Profiles
· Select the nuts, bolts, and angled brackets from the fixing kit.
· Thread the bolt through the predrilled holes on the frame leg and place a right angled bracket on the outside of the frame leg.
· Loosely fix the nut to secure the bracket.
· Loosen the bolts on the connecting plates and angled brackets to allow the cover profile to slide underneath.
· Place the folded length of the fascia over the frame leg seal and position all brackets over the fascia.
· Tighten all bolts to secure the fascia along the frame leg.
· Repeat this process on the other frame leg.
Step 3: Fix the Legs to the Header
· Attach the rubber seal to the header in the same way as the frame legs.
· Place the fascia along the length of the header, ensuring it doesn’t overhang.
· Fix right angled brackets along the length of the header, making sure the bolts are tight to prevent movement.
· Lay each frame leg flat on a set of trestles and overlap them with the header.
· Thread the nut through the top of the frame leg and the inside of the header, then fix the bolt to tighten.
· Repeat this process on the other frame leg.
Step 4: Fixing the Frame
· Ensure the opening is clear and free from debris.
· Lift the frame into place within the opening and secure it using clamps on either side.
· Use a spirit level to check that the frame is level and plumb.
· Secure the frame to the structure using appropriate fixings.
· Lay out the tracks on a set of trestles and assemble them using the nuts and bolts provided.
· Fix the curvature jointed plate behind the track and secure it with bolts.
· Bolt the curve tracks into place on either side of the frame using the predrilled holes and bolts provided.
· Lift each horizontal track into position and secure it with bolts, ensuring the tracks are level before tightening.
Step 5: Fix the Back Bar and Hanging Straps
· Lay the back bar flat on a set of trestles.
· Slide the metal plate with the threaded holes into the end of the back bar and cover it with the c-bracket.
· Place the hanging strap over the top and bolt all three together loosely.
· Slide the hanging strap into the back bar and repeat on the other end.
· Hold the back bar into position at the end of each horizontal track and fasten it with bolts on either side.
· Push out the hanging strap on both sides of the back bar until they reach the wall.
· Use a spirit level to ensure the tracks are level before fixing the straps to the wall.
· Check the levels again and measure from the corner to ensure symmetry before tightening the bolts on the hanging straps.
· Fix intermediate hanging straps using the hook-on brackets provided.
· Bolt the strap to the hook-on bracket at the required height and fasten the strap to the ceiling with screws.
· Secure the hook-on bracket to the top track by bending the edges over with pliers.
· Trim any excess off the hanging straps.
Step 6: Attaching the Panels
· Slide the sleeve over the roller shaft and fix the plastic block over the slots on the roller bracket.
· Slide the cast end of the cables over the roller shaft and then through the pulley wheel on the end of the spring.
· Fix the ends of the cable into the cable-holder at the top of the frame leg.
· Hook the base of the spring into the appropriate slots at the bottom of the frame leg.
· Place the first panel within the opening and fix the bottom roller bracket into position.
· Line up the intermediate roller bracket with the top edge of the panel and fix it with screws.
· Bolt the intermediate roller to the door bracket.
· Screw the intermediate hinges to the top edge of the panels.
· Bring the remaining panels into the garage, removing the protective layers as you go.
· Place packers over the top edge of the panel and place the next panel on top.
· Fix all brackets and hinges into place.
· Fix the panels together until all panels are in place within the frame.
· Fix the top rollers and adjust their position based on whether it is a manual or automated door.
· Check the operation of the door before securing the base of the springs.
· Place wheel cover plates over each wheel at the top of the frame leg and fix them into place.
· Place plastic caps over each pulley wheel at the top of the springs.
Step 7: Prepare the Cables
· Lift the sectional door panels and clamp them in position on either side.
· Thread the cables over the wheel at the top of the frame leg and through the pulley wheel on the end of the spring.
· Thread the ends of the cable into the cable-holder at the top of the frame leg.
· Hook the base of the spring into the appropriate slots at the bottom of the frame leg.
· Repeat this process on the other side.
· Test the door operation manually.
· Secure the base of the springs with screws.
· Place wheel cover plates over each wheel at the top of the frame leg.
· Place plastic caps over each pulley wheel at the top of the springs.
Congratulations! You have successfully installed a Wisniowski sectional garage door.
How to Install a Side-Hinged Garage Door
Here are the key installation steps for the Wisniowski side-hinged garage door from JDUK.
Step 1: Prepare the opening
· Commence by clearing the opening.
· Remove old garage doors, fixings, and debris, leaving a clean workspace for the installation.
Step 2: Prepare the Brackets
· Loosen screws securing brackets to the door frame.
· Position each bracket to face the interior side, then securely fix the screws back in place.
· Repeat for all brackets along the edges and top of the door frame.
Step 3: Position the door
· Place the side-hinged door within the opening, using markers for guidance if needed.
· Remove carry straps, check for levelness, and adjust using packers if necessary.
Step 4: Fix the brackets
· Drill pilot holes through each bracket, ensuring they penetrate bricks, not mortar.
· Use appropriate fixings to secure brackets in place, checking levels and adjusting with packers. Optionally, fix the door frame to side walls and lintel, concealing brackets.
Step 5: Attach the handles
· Trim the spindle of the internal handle to size, following the door as a guide.
· Place the handle, replace fixing screws, and test. Repeat a similar process for the external handle.
Step 6: Fix the threshold
· Ensure the threshold is level, using packers if needed.
· Drill a pilot hole through the middle and secure the threshold to the garage floor.
· Verify levelness and smooth door operation along the threshold.
Step 7: Finishing Touches
· Fix plugs along the bottom edge on the external side.
· Remove tape and temporary fixings around the door frame.
· Seal edges of the door frame as required, using appropriate sealants.
· Make fine adjustments to door leaves using Allen screws on the outside of the door hinges.
Your Wisniowski side-hinged door is now installed and ready for use!
Final Thoughts
And that’s how to fit a garage door! Whether you opt for a sectional or side hinged, each type of garage door offers unique benefits suited to different needs and preferences. By following the step-by-step installation guide provided in this article, you can successfully install a garage door that meets your customer’s specific requirements. However, you should only install a garage door if you are a qualified garage door installer.
If you have any questions or need further assistance, don’t hesitate to contact JDUK Door Systems on 01924 472924.